Photographic effects in PIE - Depth of field and preset filters
In this tutorial we are going to look at a couple of features in the Podium Image Editor, sometimes abbreviated as PIE. It's a tool built into Podium for simple and fast image editing. It's not a substitute for Photoshop or more advanced image editor, but for those of us who aren't sure what to use in the vast array of Photoshop tools for, or can't afford it, Podium Image Editor is great for tweaking your renders.
Most of PIE's tools are straightforward, but we're going to look at one of the latest tools, Depth of Field, and how you can use it on its own or with filters to make your renders look a little more photographic.
Depth of field (often abbreviated to DOF) is a technique used by photographers to emphasize a particular element of an image to add drama or draw attention to a focal point. Some examples of this are indicated below.
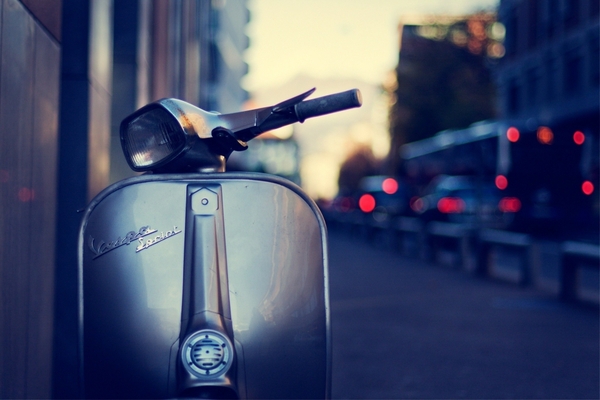
Figure 1. Image source http://top1walls.com
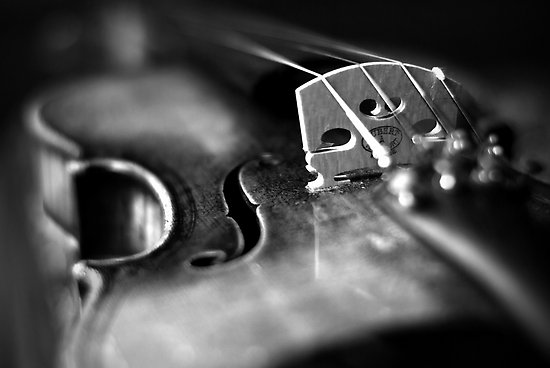
Figure 2. Image source: http://esteewolmarans.wordpress.com
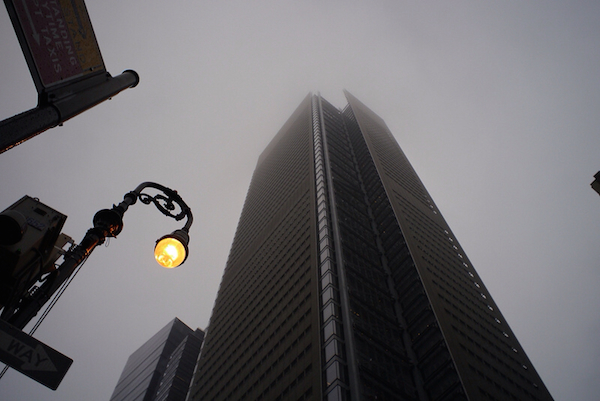
Figure 3. Image source: www.mu-43.com
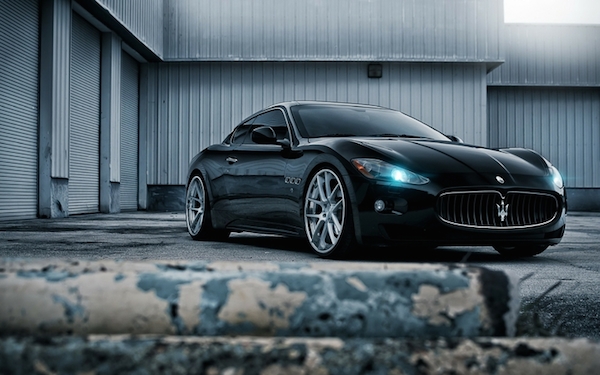
Figure 4. Image source: www.desktopwallpapers4.me/
To make a render more realistic, it's sometimes worth remembering that some of the images we think of as 'real', are photographs, which have all sorts of tricks applied to them. To make our renders more 'realistic' it sometimes helps to think like a photographer, and use some photography tricks. If you consider that the term 'photorealistic' is often used, it's easier to understand.
Some of these tricks can obscure some of the detail that doesn't look particularly 'realistic', and it can draw the eye to parts of the image, a focal point perhaps that does have a lot more detail. If we apply effects that photographers use, if done carefully with the right image we can sometimes fool the viewer into thinking that the image is a photograph.
Let's try it and see.
You can load PIE either from the SketchUp Plugins menu or from the Podium Render Manager.
The screenshots below show both methods.
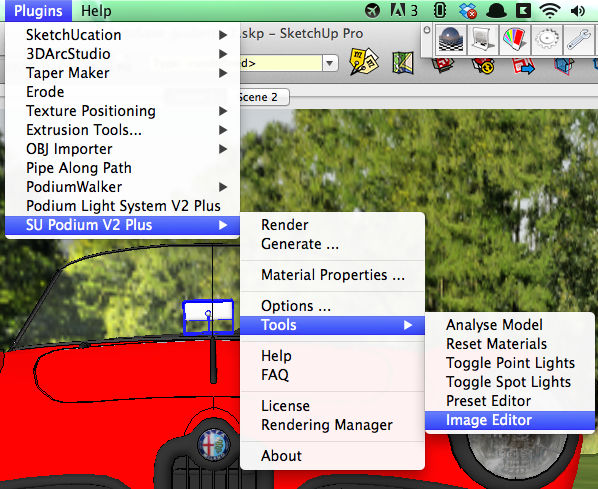
Figure 5. Opening Podium Image Editor from the Plugins Menu
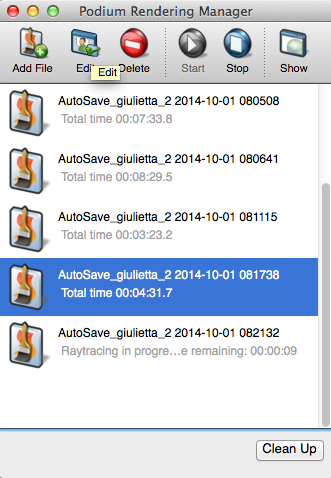
Figure 6. Opening Podium Image Editor from Render Manager (OOPR)
When you load the image editor, you will see the editing tools on the right hand side.
Below you can see a raw render with no post-processing at all. I'm going to use PIE to add some depth of field to emphasize the car a little more.
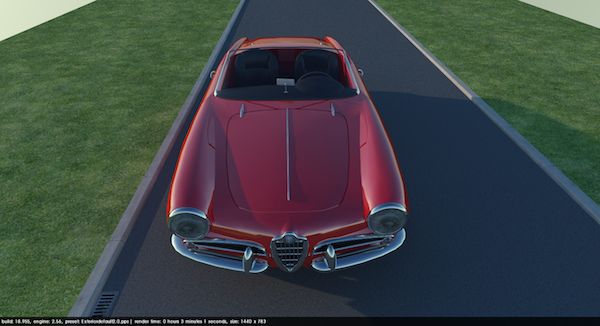
Figure 7. Starting image before DOF is applied
First, we'll use the Crop tool.
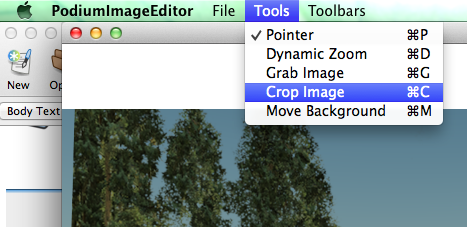
Figure 8. Using PIE's Crop tool
Figure below shows the resulting image after cropping.

Figure 9 The base image after cropping
To use the Depth of Field Tool, we switch to the DOF tab in the image editor.
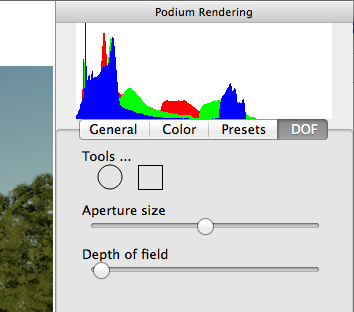
Figure 10. Using the Depth of Field too in PIE
There are two shapes under the Tools section. You drag these to the image to create a mask shape. Everything inside the shape is clear, but everything outside is blurry. Move the shape over your image and adjust it by using the black circular 'handles'.
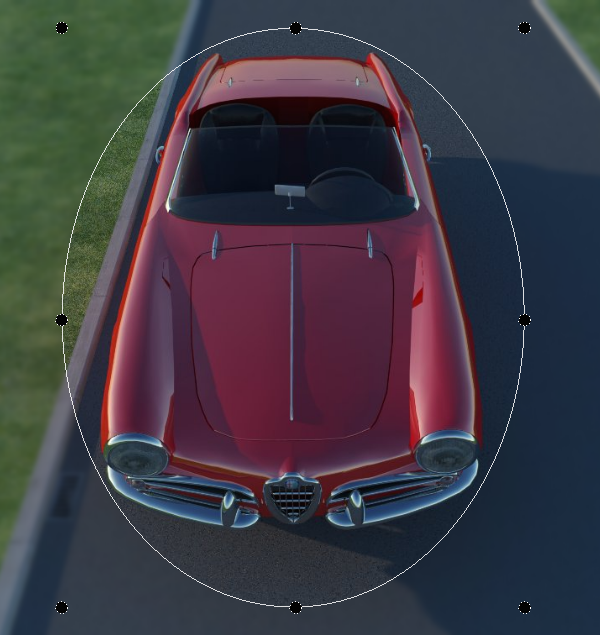
Figure 11. Adjusting the DOF tool shape mask to match the image
When you are happy with the shape, it's time to configure the amount of blur and the smoothness of the edge - the transition from sharp to blurry. The Aperture size slider controls the overall level of blur, and the Depth of Field slider controls the smoothness of the blurred edge.
It's a very quick process to end up with something like the finished image below.
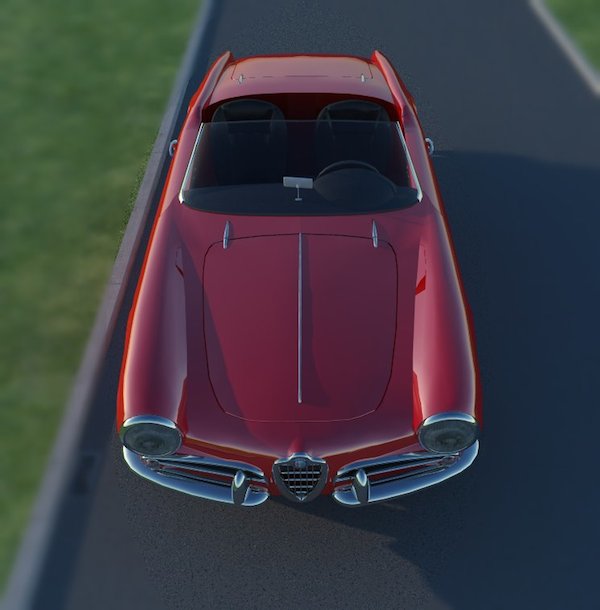
Figure 12. The completed image after DOF has been applied
As you can see, this technique is really good for picking out a certain area of an image and adding emphasis. In other cases, sometimes it's useful to hide the less important parts of the image, particularly if you haven't modelled them in a high level of detail.
There are two more examples below.
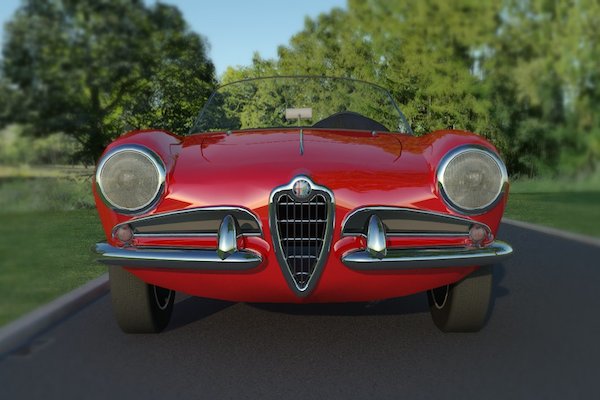
Figure 13. Another example of the use of DOF to blur the background to create a more photographic image.
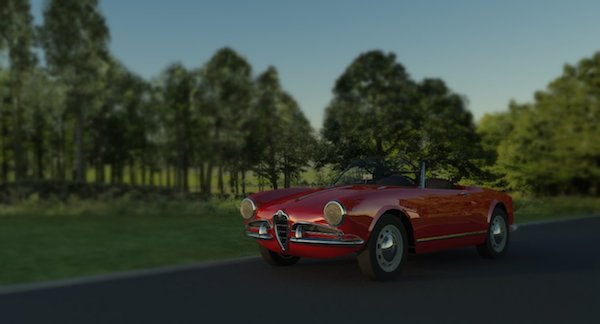
Figure 14. This image shows how DOF can blur a background which isn't as realistic or detailed as the main focal point
As you can see from Figures 12 to 14, this tool allows you to simulate effects used by professional photographers. We become accustomed to seeing artfully composed and processed photographs and sometimes, if we treat renders in the same way as photographs, we can almost fool viewers into thinking they are real photos.
Another trick that you can use, is film grain. This mimics the effect of film from traditional or vintage cameras, as opposed to modern digital photography. Figures 16 and 17 show some examples of this.
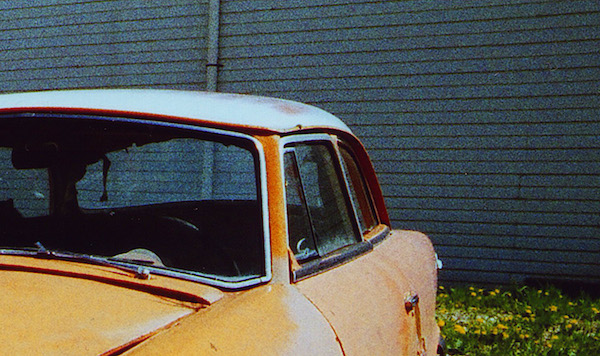
Figure 15. The effects of film grain on an old photograph
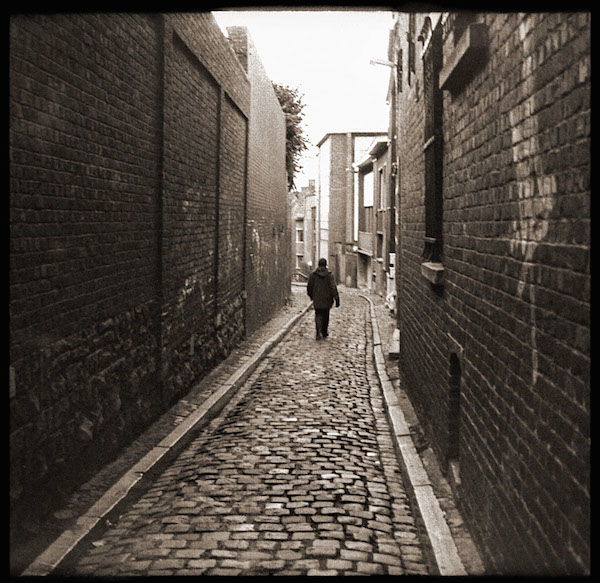
Figure 16. Black and white film grain in another old photograph.
If you look at the Presets tab in PIE, you will see a series of presets which add different effects to your images. For photographic type processing, some of the most useful are the ones that add film grain, and black and white film grain. In a few seconds, you can create something that looks like an old photograph with ease.
The figure below shows the effects of about a minute of editong with PIE, using Depth of Field with Black and White Film Grain, a little Blur to soften the graininess, and a little Vignette.
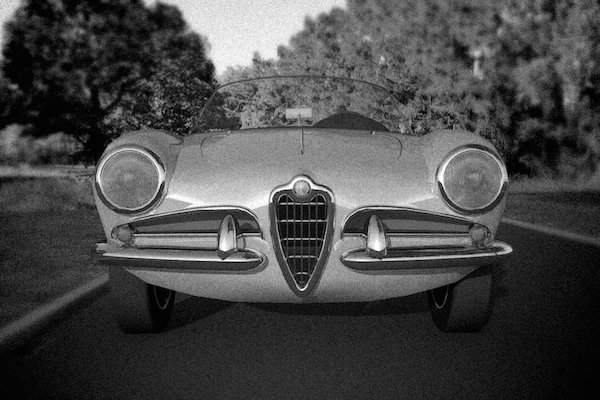
Figure 17. Using effects and filters in PIE to create the effect of an old photograph taken with a traditional film camera.
This is is a really interesting subject, to make an image appear more realistic, sometimes it helps to think a little laterally. Have a look at what you can do with PIE, and experiment to see what you can do. Sometimes it helps to have a particular idea in mind, other times, it's just fun to play around!