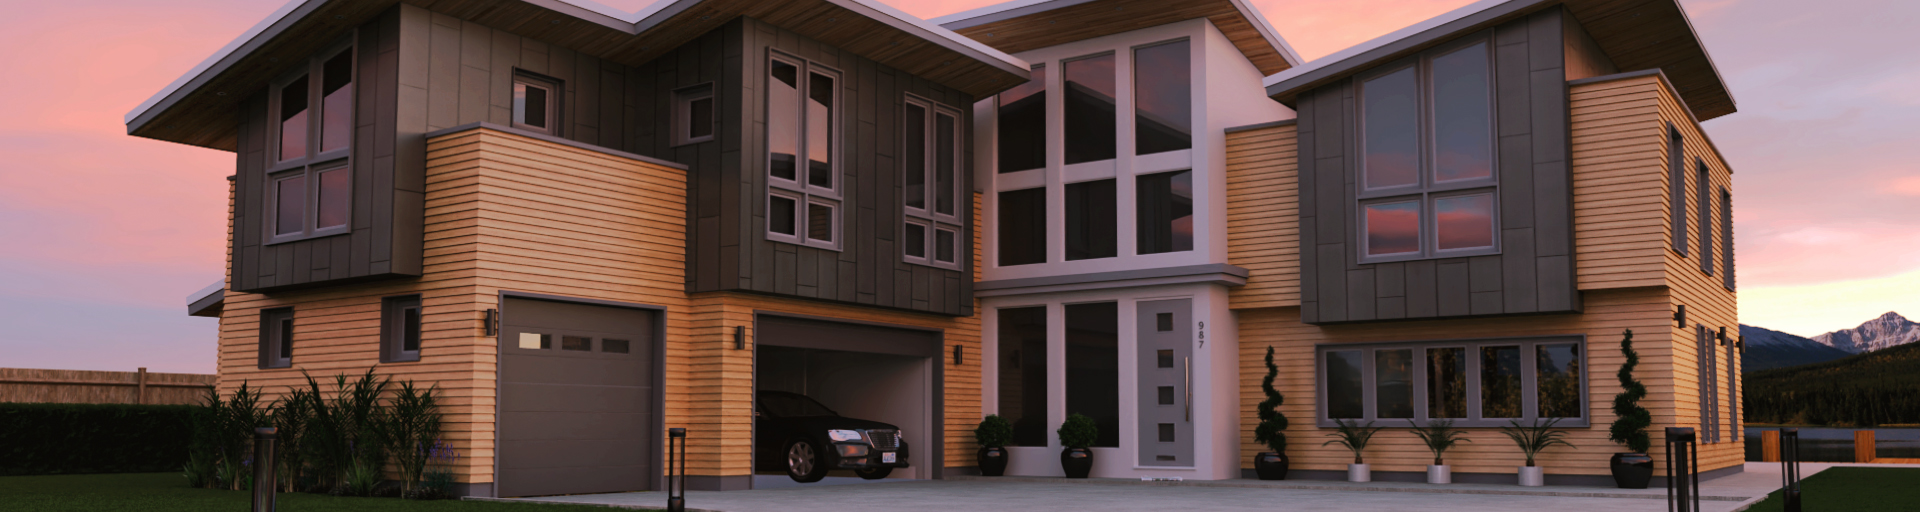
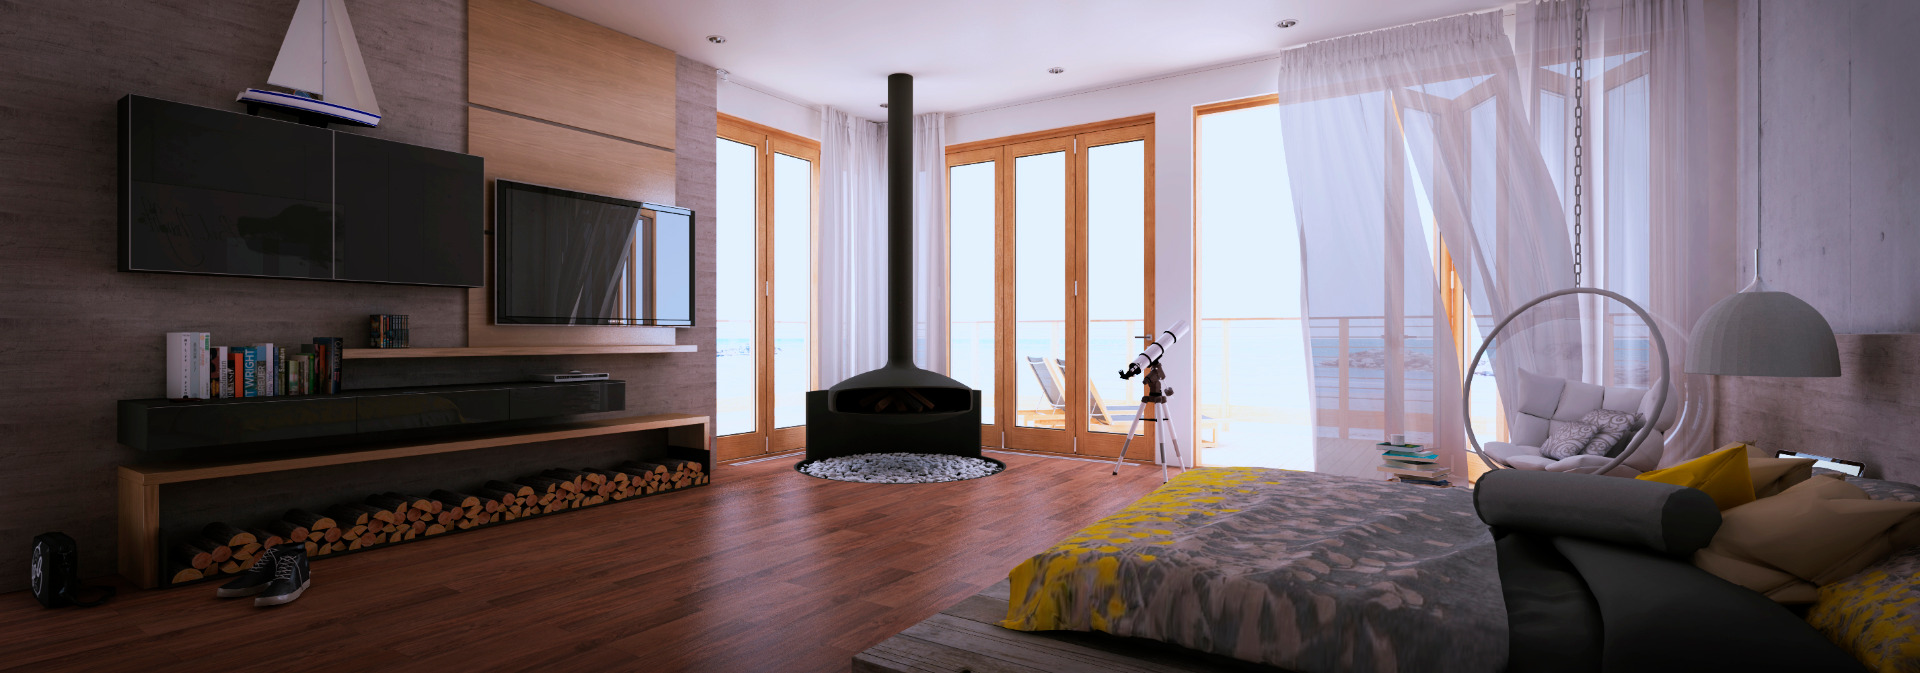
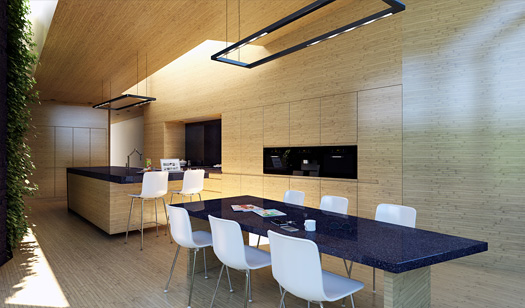
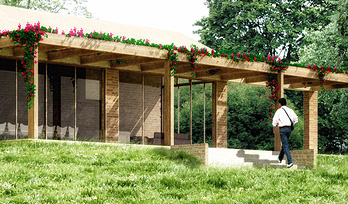
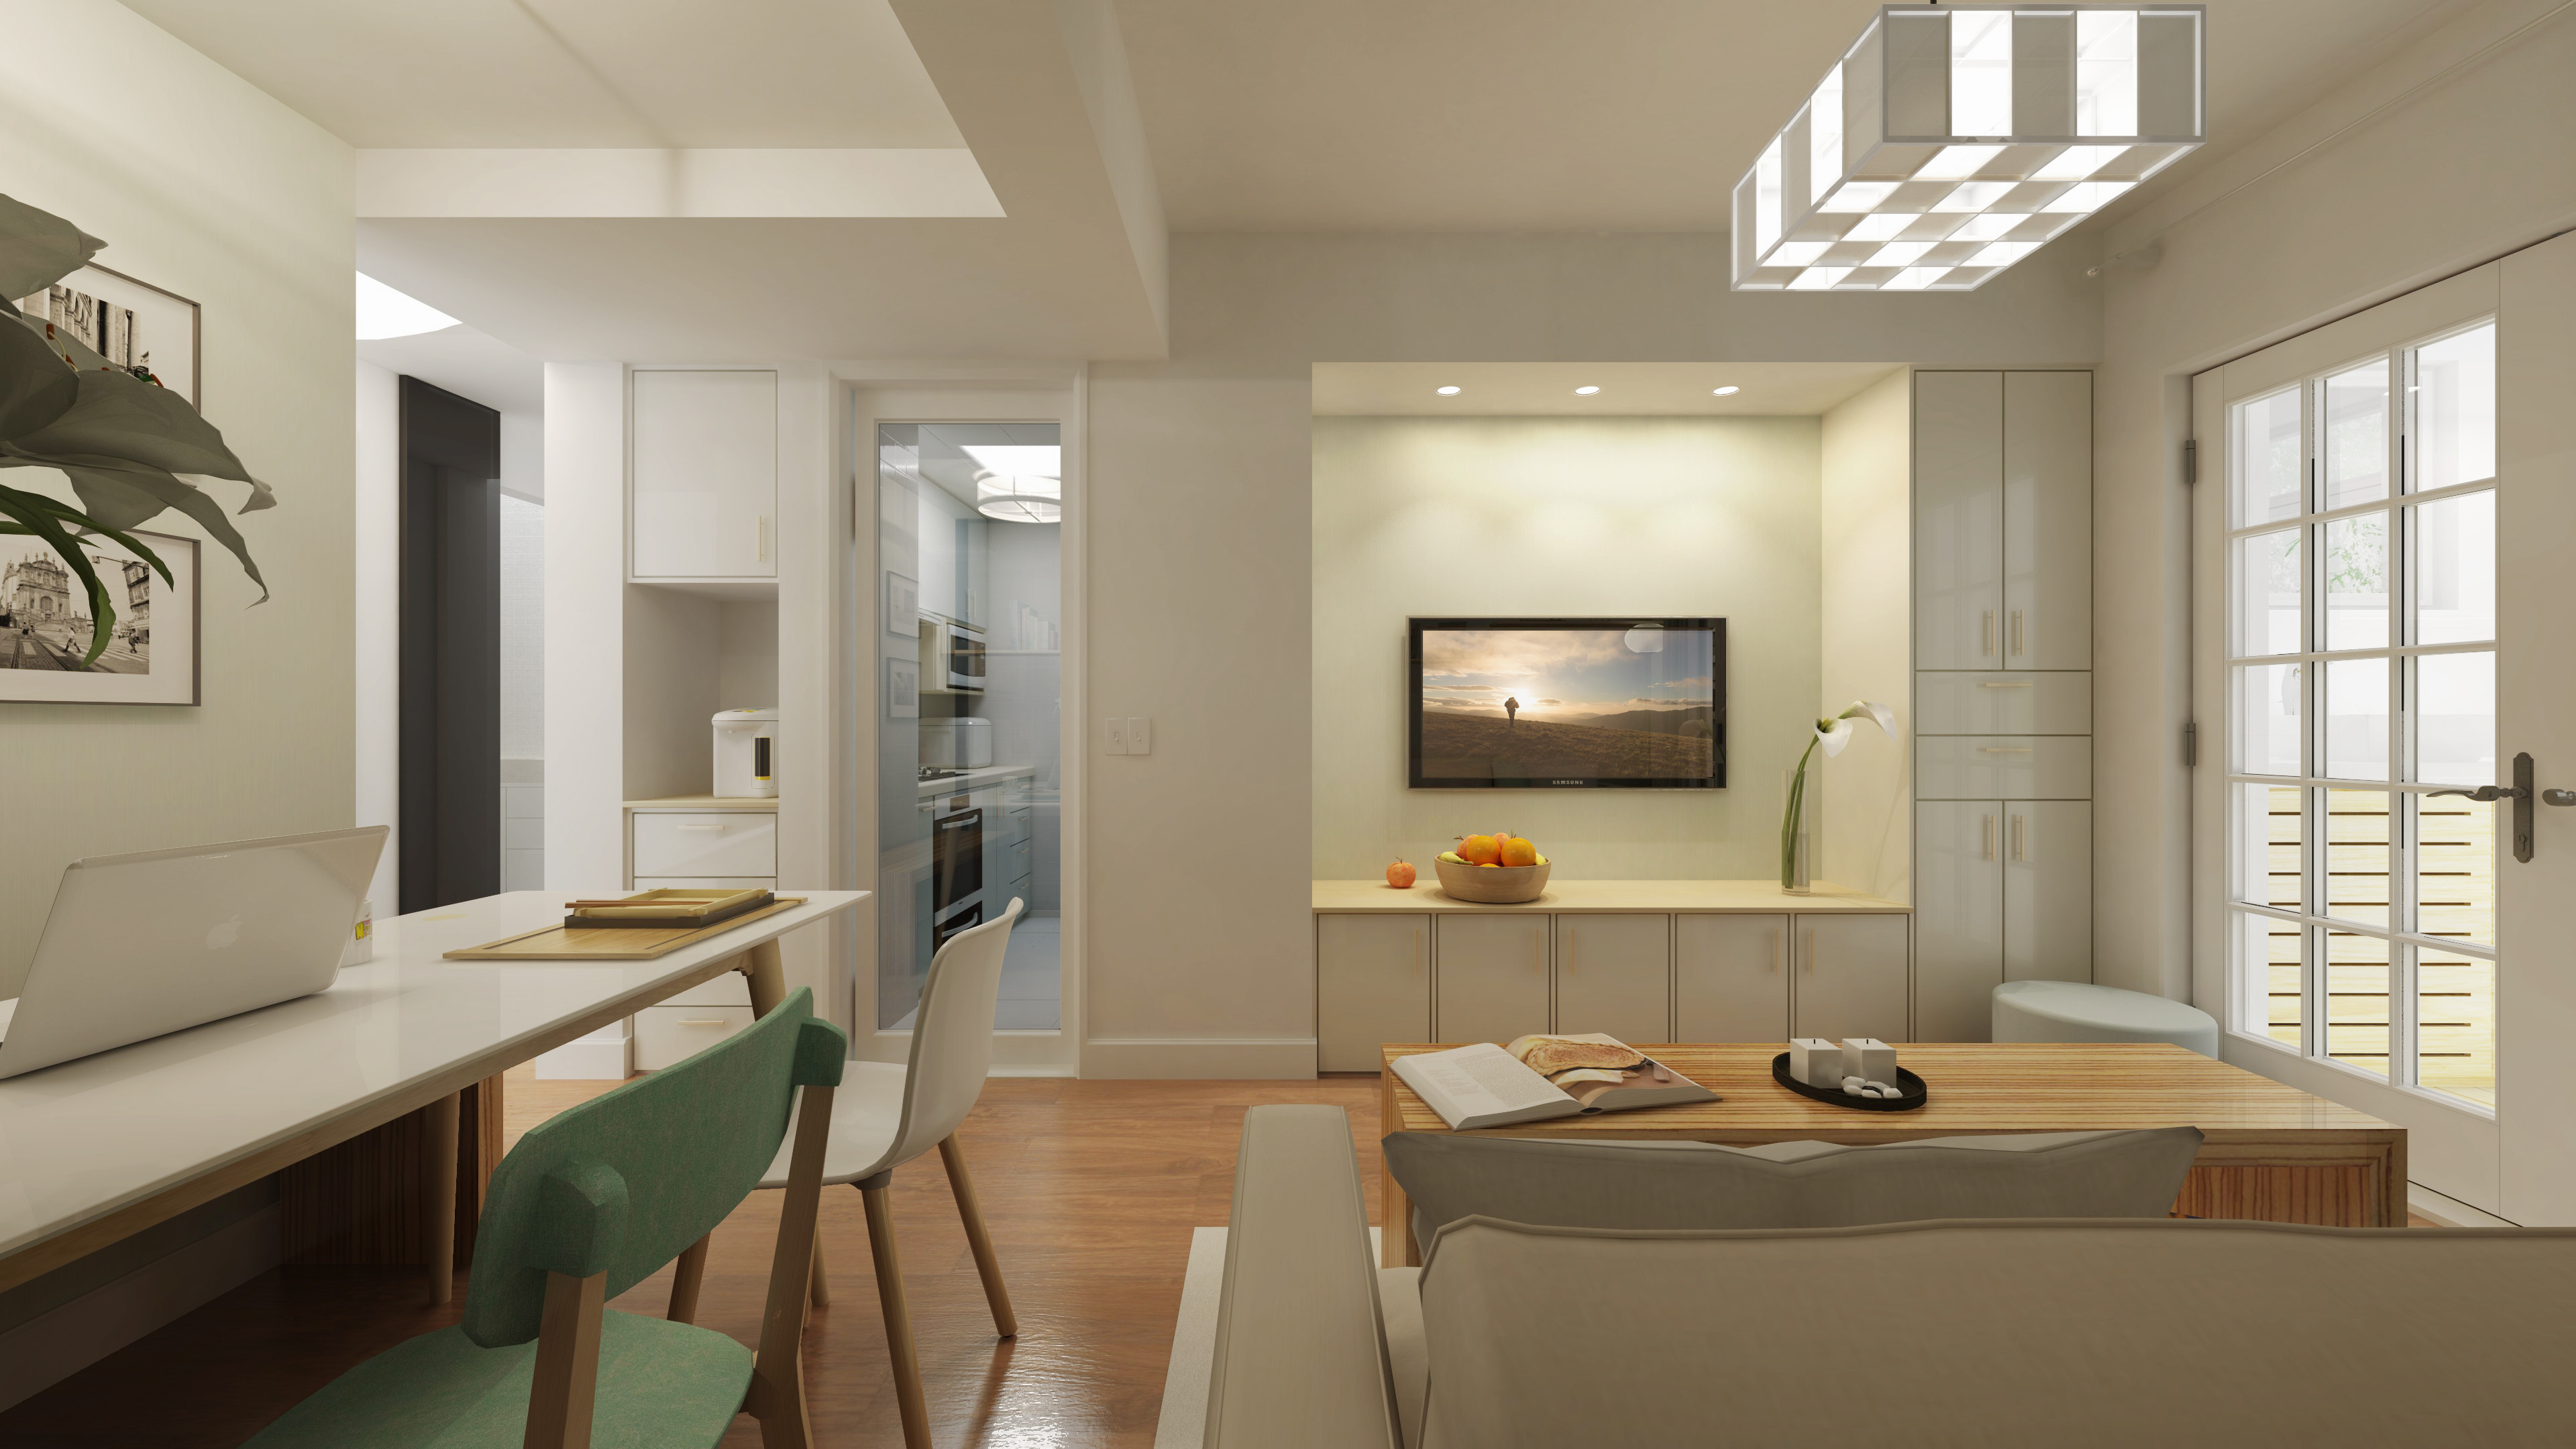
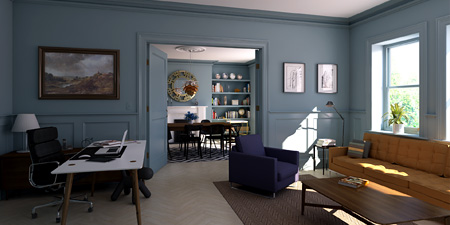
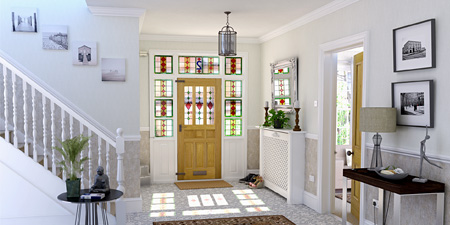
Creating Clipmaps Podium 1.5 is in beta.This means that the documentation will be revised often.This document about clipmaps and bumpmaps is not the final document.There is most likely some mistakes and we would recommend that beta testers read the beta testers forum to read how some experienced Podium users are using and creating clipmaps and bumpmaps. We have included several examples of Clipmaps for you to download and experiment with.This file includes several JPG images and also includes a grass.skp and bump.skp files.Download Here. (Clipmap.zip) To start, download the above file and open the grass.skp file. Go to SketchUp Material Browser and click on the In Model icon. Notice how that there is both a grass texture and a grass_clipmap texture.
If you go to podiumtexture you will see that Podium has saved both grass.jpg and grass_clipmap.jpg. Now let’s try a fence example.This fence image was exported directly from the native SketchUp Face_Metal_Straight texture image.
Creating a clipmap. We have created several example JPG files in the clipmap.zip file.Each clipmap requires two files.One is the texture file such as grass.jpg and the other is the clipmap JPG which is named xxx_clipmap.jpg such as grass_clipmap.jpg or Face_Metal_Straight_clipmap.jpg. Now, try to create your own clipmap.You will need a image editing program such as Photoshop and Firworks.
Note:I have found that a simple black texture image will work as the clipmap in most cases.The file black_clipmap.jpg has been included in the clipmap.zip file.Use the black_clipmap.jpg as your clipmap image.You may find that this file will work for you instead of creating a clipmap image for each texture image you want to use.
Clipmap FAQ
Yes.
No. BumpMaps The simplest way to use bumpmaps, is to paint a SketchUp native texture to a face and rename the texture in the Material browser to xxxx_bumpX.The final X should be a value between 1 and 5. For example:
1. Open the bump.skp file. 2. Go to the SketchUp Material browser. Notice how the name of the texture is leather_bump3. 3. Render the scene. 4. Change the name of the texture to leather_bump 5.Render and see the difference.
A more effective way to create bumpmap textures for Podium renderings is to create a new file called xxx_bumpmap.jpg. The xxx equates the original name of the texture file.For example, for the texture file leather.jpg, you must create a file called leather_bumpmap.jpg. For example, if you rendered the Brick_Tumbled or Leather examples above, Podium will automatically save Brick_Tumbled.jpg and Leather.jpg to the podiumtexture folder.Use these files as our texture files. Note: If you want to use a SketchUp native texture file, first paint the texture on a face, then open your Material Browser, click InModel icon, right click on the texture you want to use and Export Texture Image.This will create a jpg of your SketchUp texture.Save it to your podiumtexture folder.
The trick is getting an effective xxx_bumpmap.jpg image using your favorite image editing program.Please look at the beta forum to get better examples than these from the several experienced users contributing to the forum. Download Sample Bumpmap library. In this library are several texture files and their corresponding xxx_bumpmap.jpg files. Download the zip file and freely use these bumpmap images. There are two files for each bumpmap. One is the original texture image in .jpg format. The other is the corresponding xxx_bumpmap.jpg file. Keep in mind the xxx_bumpmap.jpg files and their corresponding texture .jpg files must be stored in the /podium/texture/ folder. Also, check out the bump map libraries that have been uploaded by users in the Beta forum. |


